Happy Monday / Happy First Day of Spring!
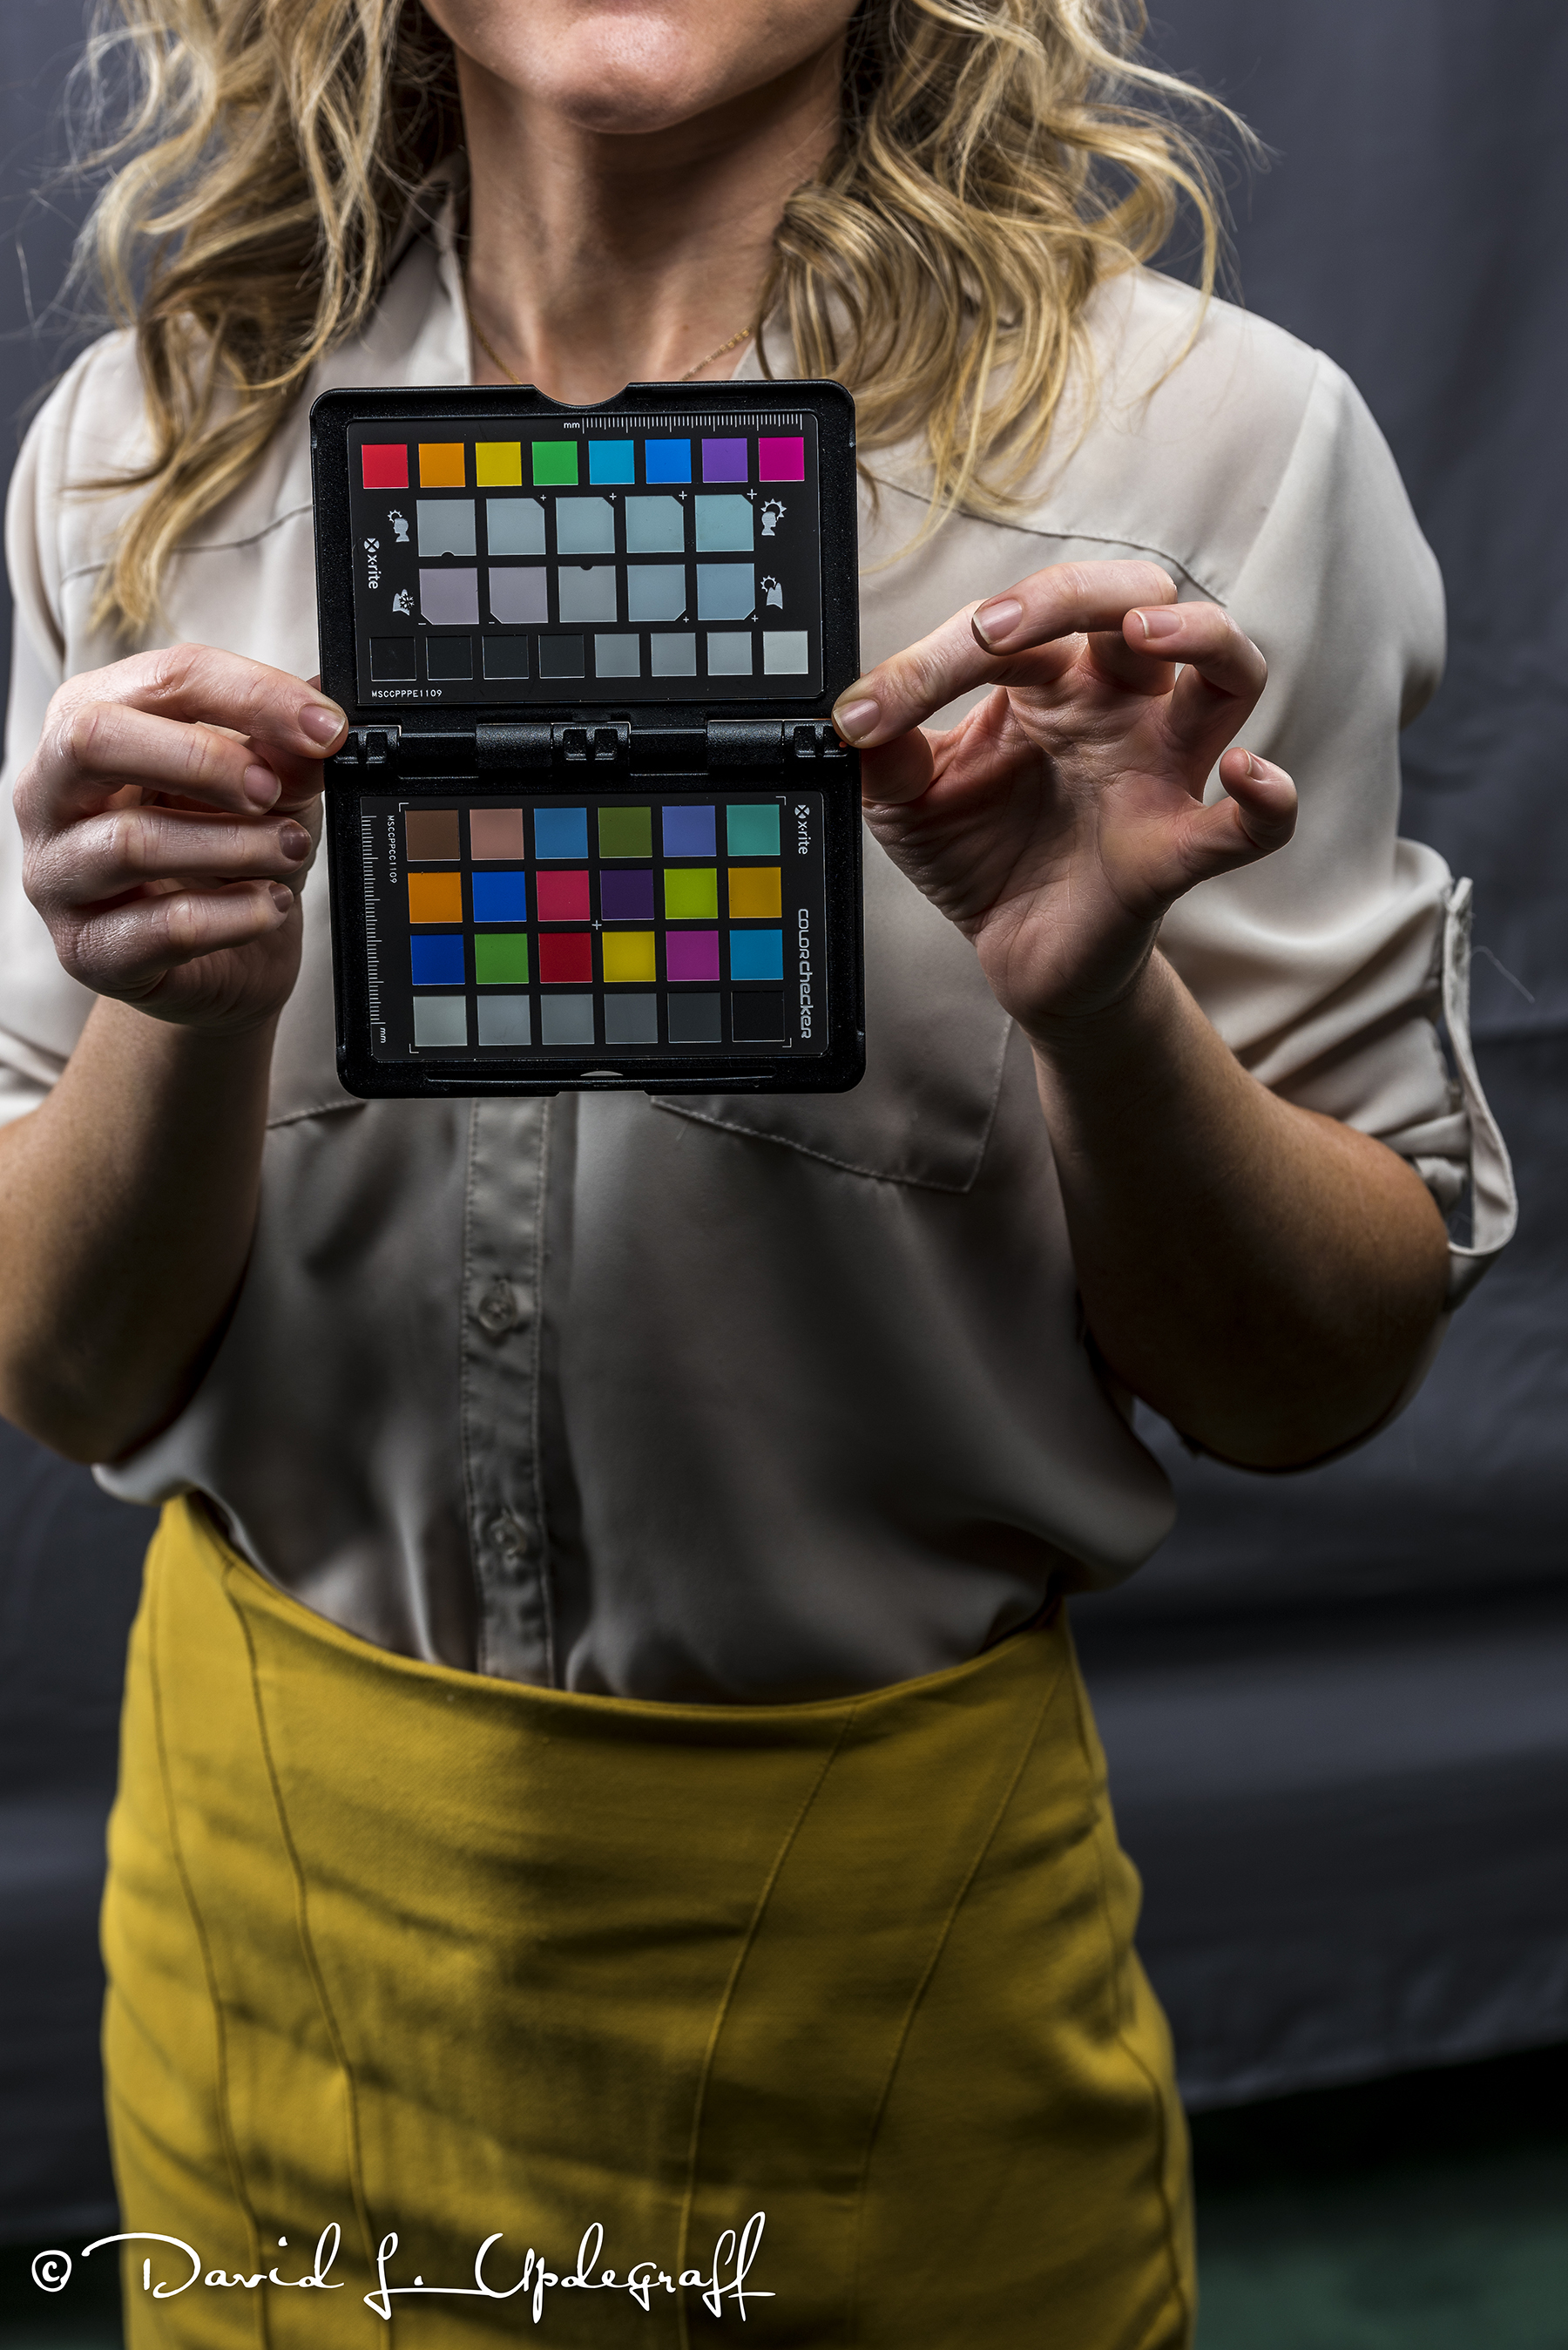
I have three images for you today from my corporate photo shoot of last Wednesday. This first shot is of the “Color Checker” tool, which is used to make sure your camera’s color balance is correctly given to the editing software. I always shoot in RAW so I have more control over the color balance and white balance of the image. I load this image of the color checker (actually a larger image) into the software and then every image I make with that camera in the shoot is perfectly color balanced.
Normally when I photograph people I use a Green Screen for the background. There is software designed to make extracting the subject from the green background much easier. What I have found over the years (even with upgrades) is that the software tends to mess with skin color and requires a lot of tweaking, which makes it hard to get the skin gradation correct.

So I have gone to a neutral gray background. I have noticed that most professional photographers tend to use gray or white backgrounds so I decided to try it and I must admit I’m very please with the results. The extraction of the subject from the gray background is not that difficult with Photoshop and its refined edge detection. It does take some tweaking to make a good cutout but the skin colors remain true and for me that’s the payoff.
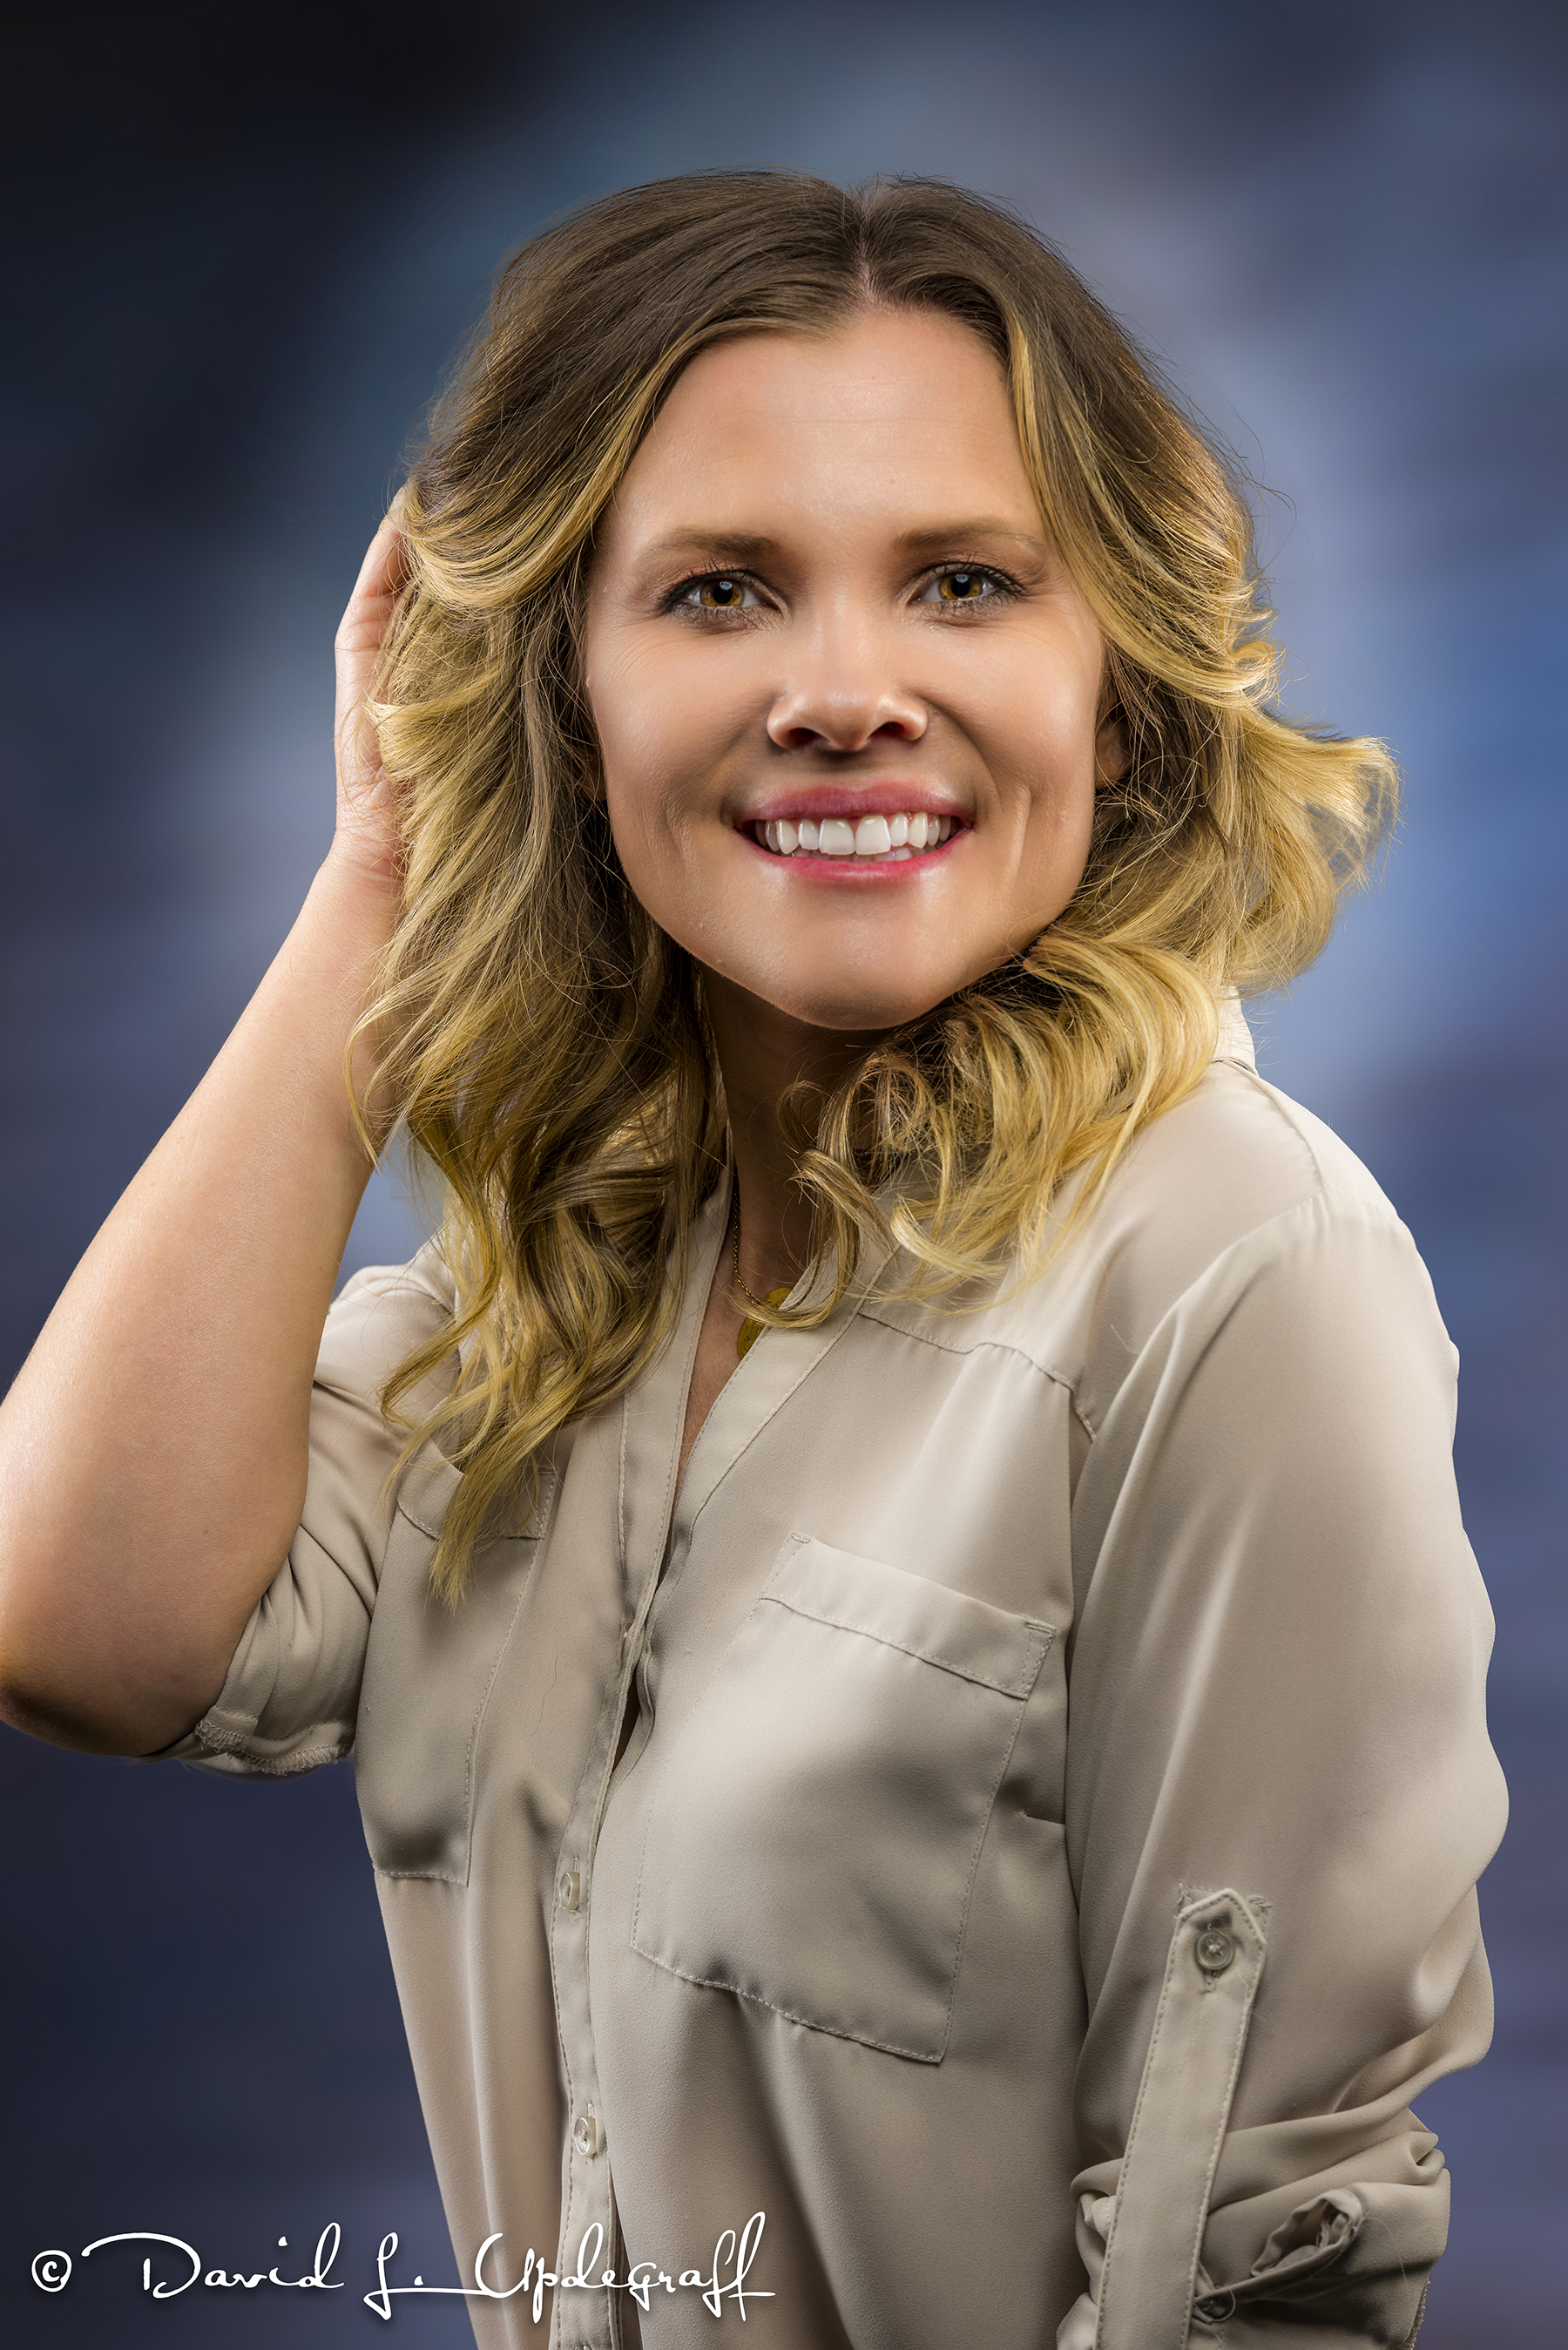
This is my friend Hannah who works at one of our banks. She was the project leader for the shoot and endured many poses for me while I balanced the lights and got everything set up. She is a great sport and it’s so helpful to have someone standing there so you can adjust all the settings.
When extracting someone from the background the hardest part is always the hair. Men are usually pretty easy with their normally shorter hair. The small strands and fly away hair can take a lot of time. Hannah’s hair is a good example of that. Again I was pretty happy with the results.
That’s it for today. Thanks for stopping by the blog. Enjoy day and be careful.

