

Reflective Sunday 9/11.
If you do not consider yourself geeky you may find this post boring and consider passing it. There are five images but they are only to help tell the story and not of any real photographic significance from an artistic point of view.
I discussed sometime ago on this blog the deteriorating condition my 2013 iMac was in. As an example it took over three minutes for Lightroom (a program I use every day) to load. It took several more minutes before I could do anything in it. And many times it would freeze and display the spinning beach ball if I was doing something of any consequence. In short the computer had become a huge pain to use and I was seriously considering buying a new one.
Unfortunately a new iMac would cost over $3,500 and I didn’t want to part with that much money. So I started looking for alternatives. I reasoned that perhaps it was a memory issue. So I added 32 GB of memory up from the 8 GB it came with. There was no perceptible difference in speed. So the more research I did the more I was convinced that it was the hard drive that was the problem. I found a company that specialized in selling not only SSD (solid state drives) but also the tools needed to install it. The same company that I purchased the equipment for upgrading my old Macbook Pro with an SSD. I felt like since I had been successful fixing that problem I could install a new SSD on my iMac.

I watched the video of how to do it several times before finally deciding to go ahead with the project. The cost of the new SSD and the tools needed to install the drive was $350. In my mind it was worth the money to see if I could fix the problem and save the computer and a lot of additional money. The one thing that was daunting was the warning from the company saying, “This is a very difficult process and should be left to a professional.”
Okay that’s why I waited two months (watching the video several more times) before I decided to take on the project. The hard drive was a 3.5 inch 1 Tb analog device and I was replacing it with a 2.5 inch solid state drive. The SSD has no moving parts and it much faster than the older spinning disk. First part of the process was easy. Initialize the new SSD for a Mac configuration and then duplicate (clone) the new drive from the old drive.
I assumed that would take several hours as my Macbook Pro took almost 5 hours and it was only a 500 GB drive. I was pleasantly surprised when after taking a nap I discovered the process was completed in under two hours. 🙂

The next step and admittedly the most difficult step was to separate the front 27 inch screen from the body of the computer. It is held in place by adhesive tape and it is a long difficult process to separate it from the computer. You can see some of the tools needed to accomplish this. So the first step is to gently insert a special tool that is designed to give you a separation space so that you can insert the (guitar pick) object that you have to work around the entire screen trying to pry it free from the adhesive. My first attempt to insert the pry tool resulted in the screen cracking.

Now what do I do? Well it was a crack that was low on the screen and would not show so I continued. A little further up and another crack appeared. Damn, now what? So I stopped and thought about it for awhile. I reasoned that there was always the possibility that this would not work and I would have to trash the iMac. So I moved on as carefully as I could. I finally (90 minutes later) got the screen separated and ready to remove with no more cracks.
It was after I got the screen off that I forgot to continue taking images to document the process. 😦
But removing the old drive and installing the new SSD turned out to be a breeze. In no time at all I was ready to put the machine back together. That was another challenge in itself. I had to install new strips of adhesive, which with my big fingers proved to be a real struggle. Finally I got it all back together and cleaned up.
Back on my desk I turned it on and nothing but a black edge of screen light. I waited and waited but nothing happened. Now what. If I take the screen off again it is bound to break up and I don’t have anymore adhesive and what the hell do I do anyway?
So I rebooted in safe mode and after about 180 seconds I got a globe spinning and a statement saying that It was configuring. Yea!!!!!!
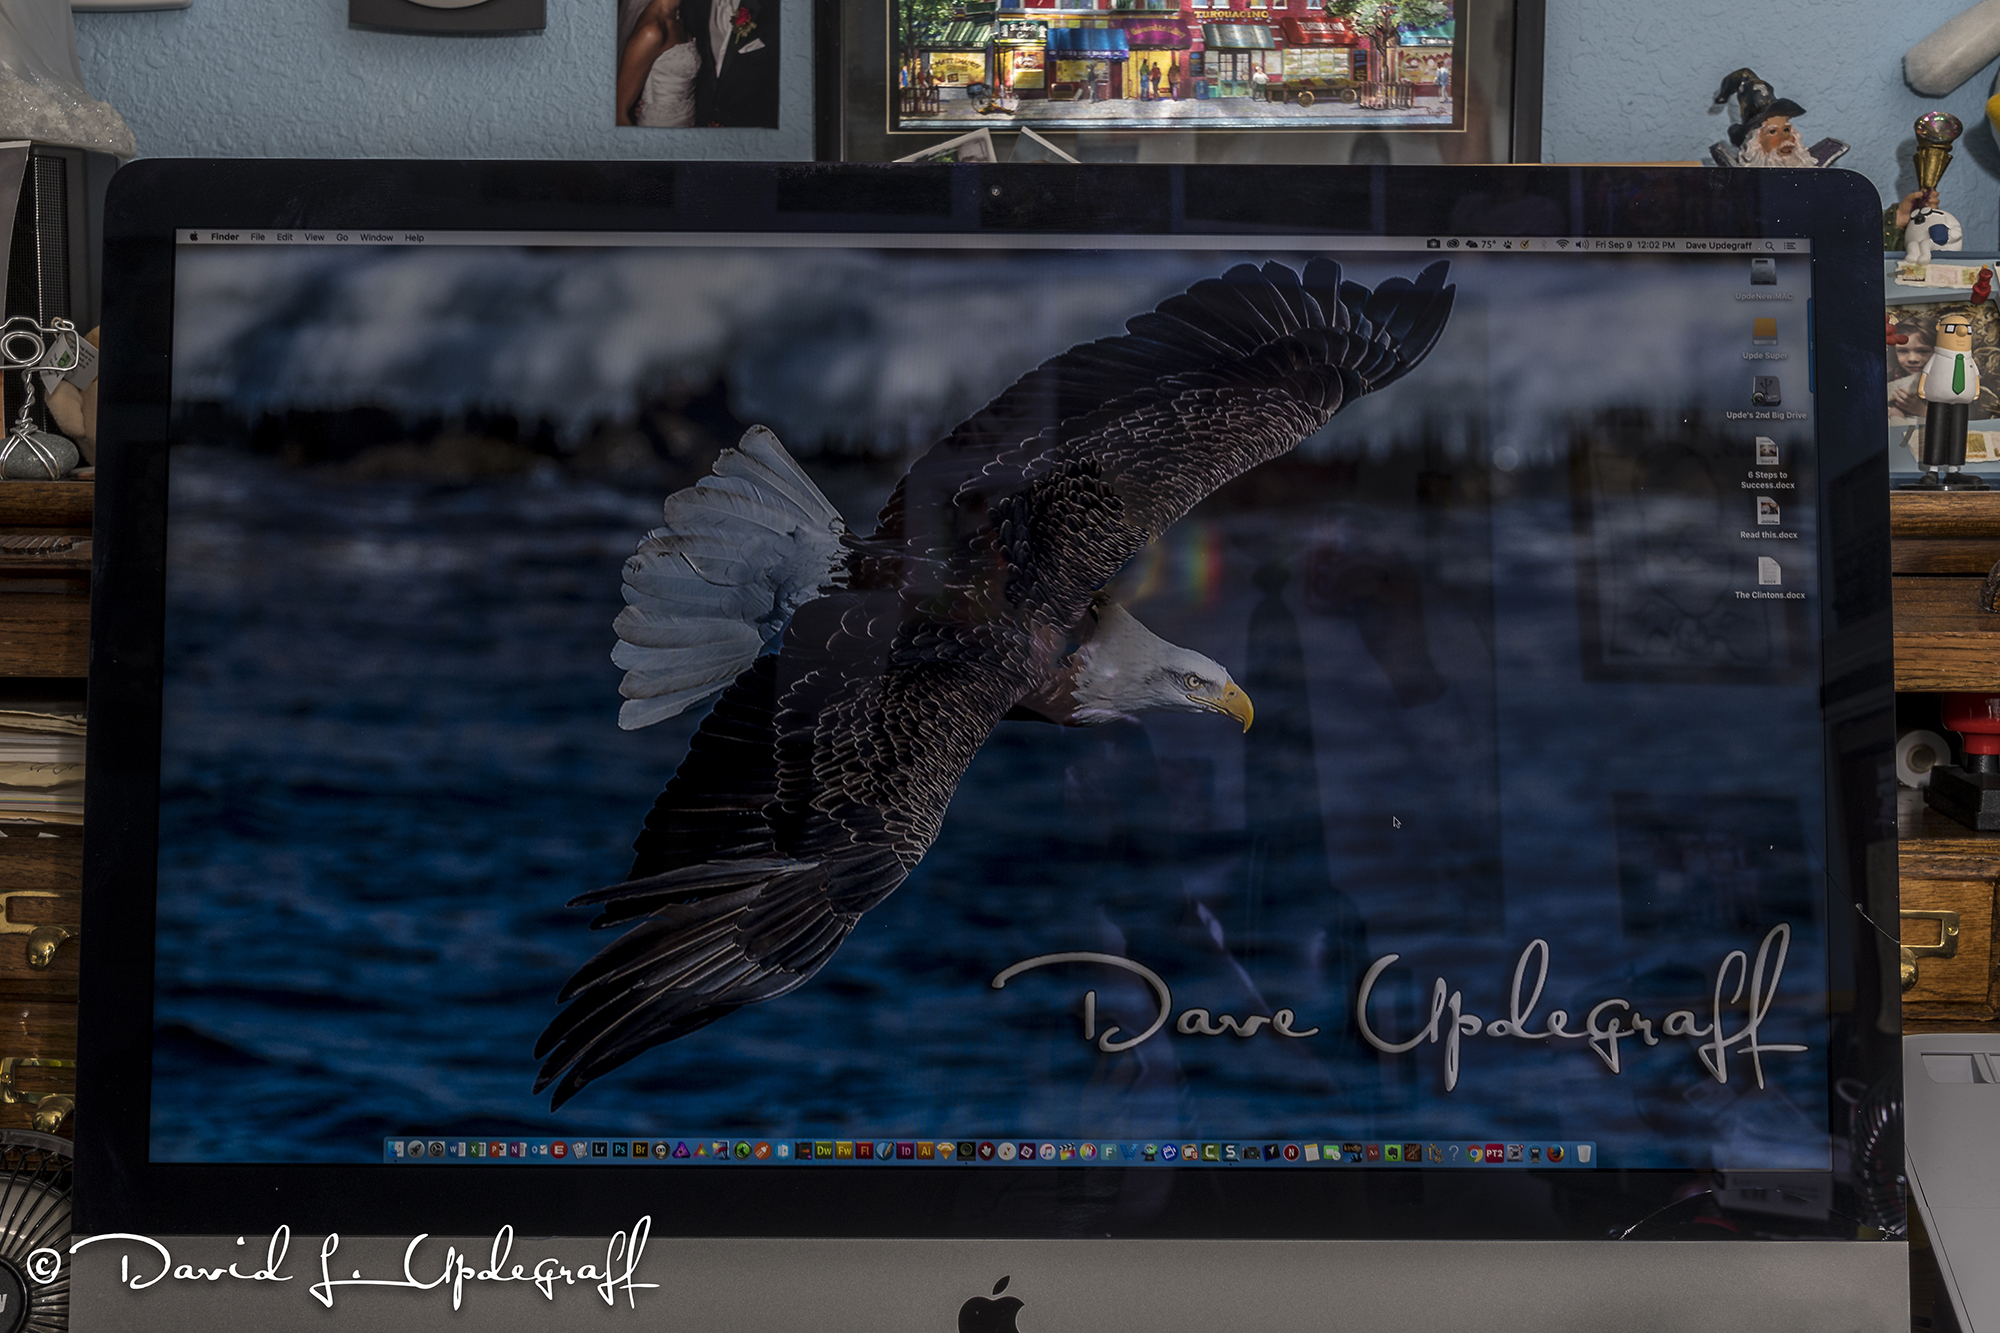
After that I rebooted and it worked perfectly. Very, very fast and a pleasure to work with again. You can see in the lower right corner the cracks in the screen, which do not interfere with my work. There is one small crack that comes onto the viewing area of the screen about three inches up and I have to really look for it. So I am very happy with the results.
I have essentially a new computer for $350 a savings of $3,150.00 🙂
That’s it for today. If you finished the whole story then you can consider yourself geeky.
Thanks for stopping by the blog. Enjoy your day and be careful.


Bravo!
LikeLike